Sicura allows users to export subsets of policies in order to customize what is (or is not) enforced out of any given baseline policy.
###Profiles can be obtained 2 different ways.
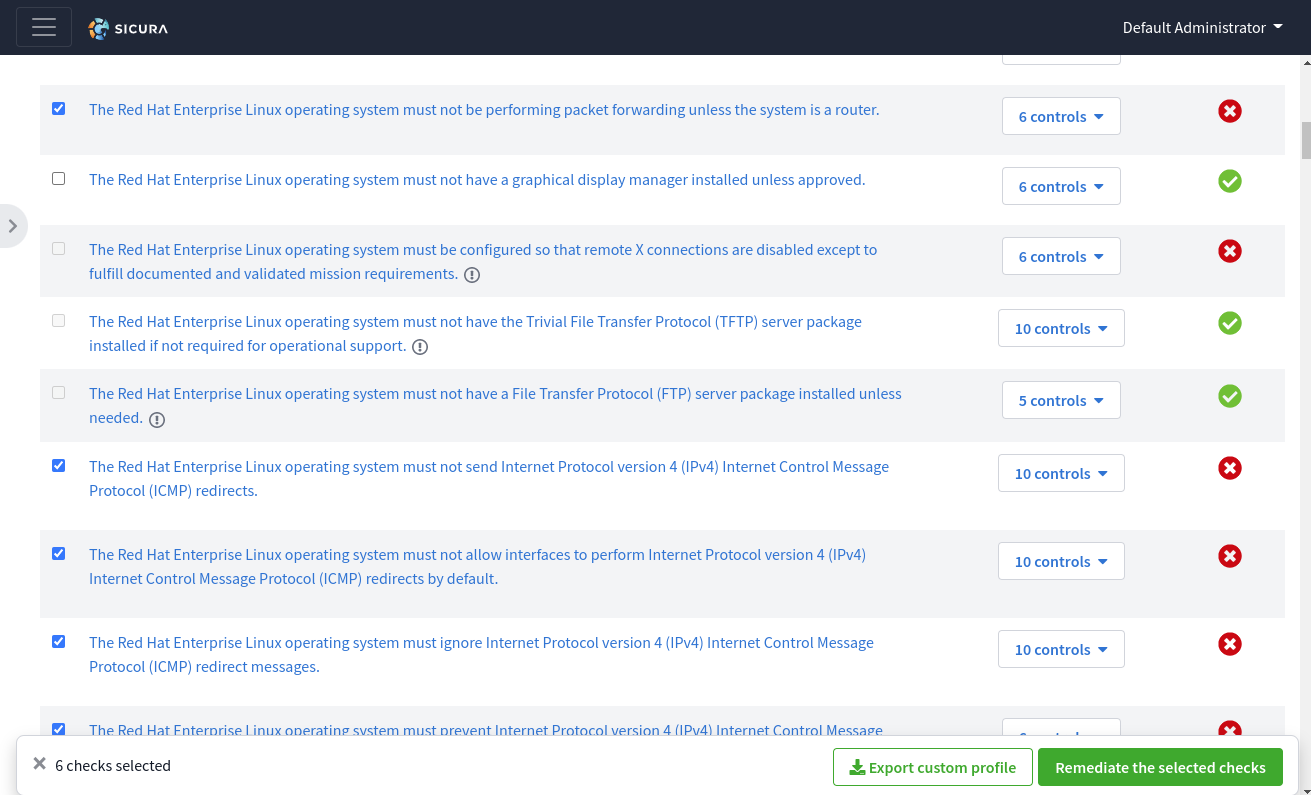
Profile drop-down at the top of the pageresults per page at the bottom of the page to allExport custom profile in the navigation menu on the bottom of the screenFor example:
Once profile data has been exported, you will have a custom policy created in YAML to be used by the SIMP Compliance Engine. For example:
---
compliance_markup::compliance_map:
  version: 2.0.0
  profiles:
    simp_console_enforcement:
      ces:
        oval:simp.disa.V-204625:def:1: true
        oval:simp.disa.V-204617:def:1: true
        oval:simp.disa.V-204616:def:1: true
        oval:simp.disa.V-204615:def:1: true
        oval:simp.disa.V-204614:def:1: true
        oval:simp.disa.V-204613:def:1: true
compliance_markup::enforcement:
- simp_console_enforcement
This policy can be used for continuous enforcement via Puppet by following the documentation here. If you plan to export multiple custom profiles for use with SIMP Compliance Engine, you will need to change the profile name from simp_console_enforcement to a unique name.
Sicura
© copyright 2022