Profiles are groupings of rules that are used to scan systems and enforce their compliance. On startup, the console provides profiles defined by the following providers:
Each of these providers includes numerous profiles depending on your compliance needs. Any of these profiles can be scanned on any of our various supported platforms, and then enforced either using the console’s built-in enforcement feature, or by using the Sicura Compliance Engine in a Puppet environment.
Currently, scan profiles can only be accessed from the Scan dropdown or from the Node Settings/Default Profile selection.
In a future release of the console, a dedicated page will be created to view built-in profiles, create custom ones, and link them to enforcement profiles.
The enforcement profiles page provides a top-down view of any profile that can be used to enforce settings on a system.
The page is split into 2 sections.
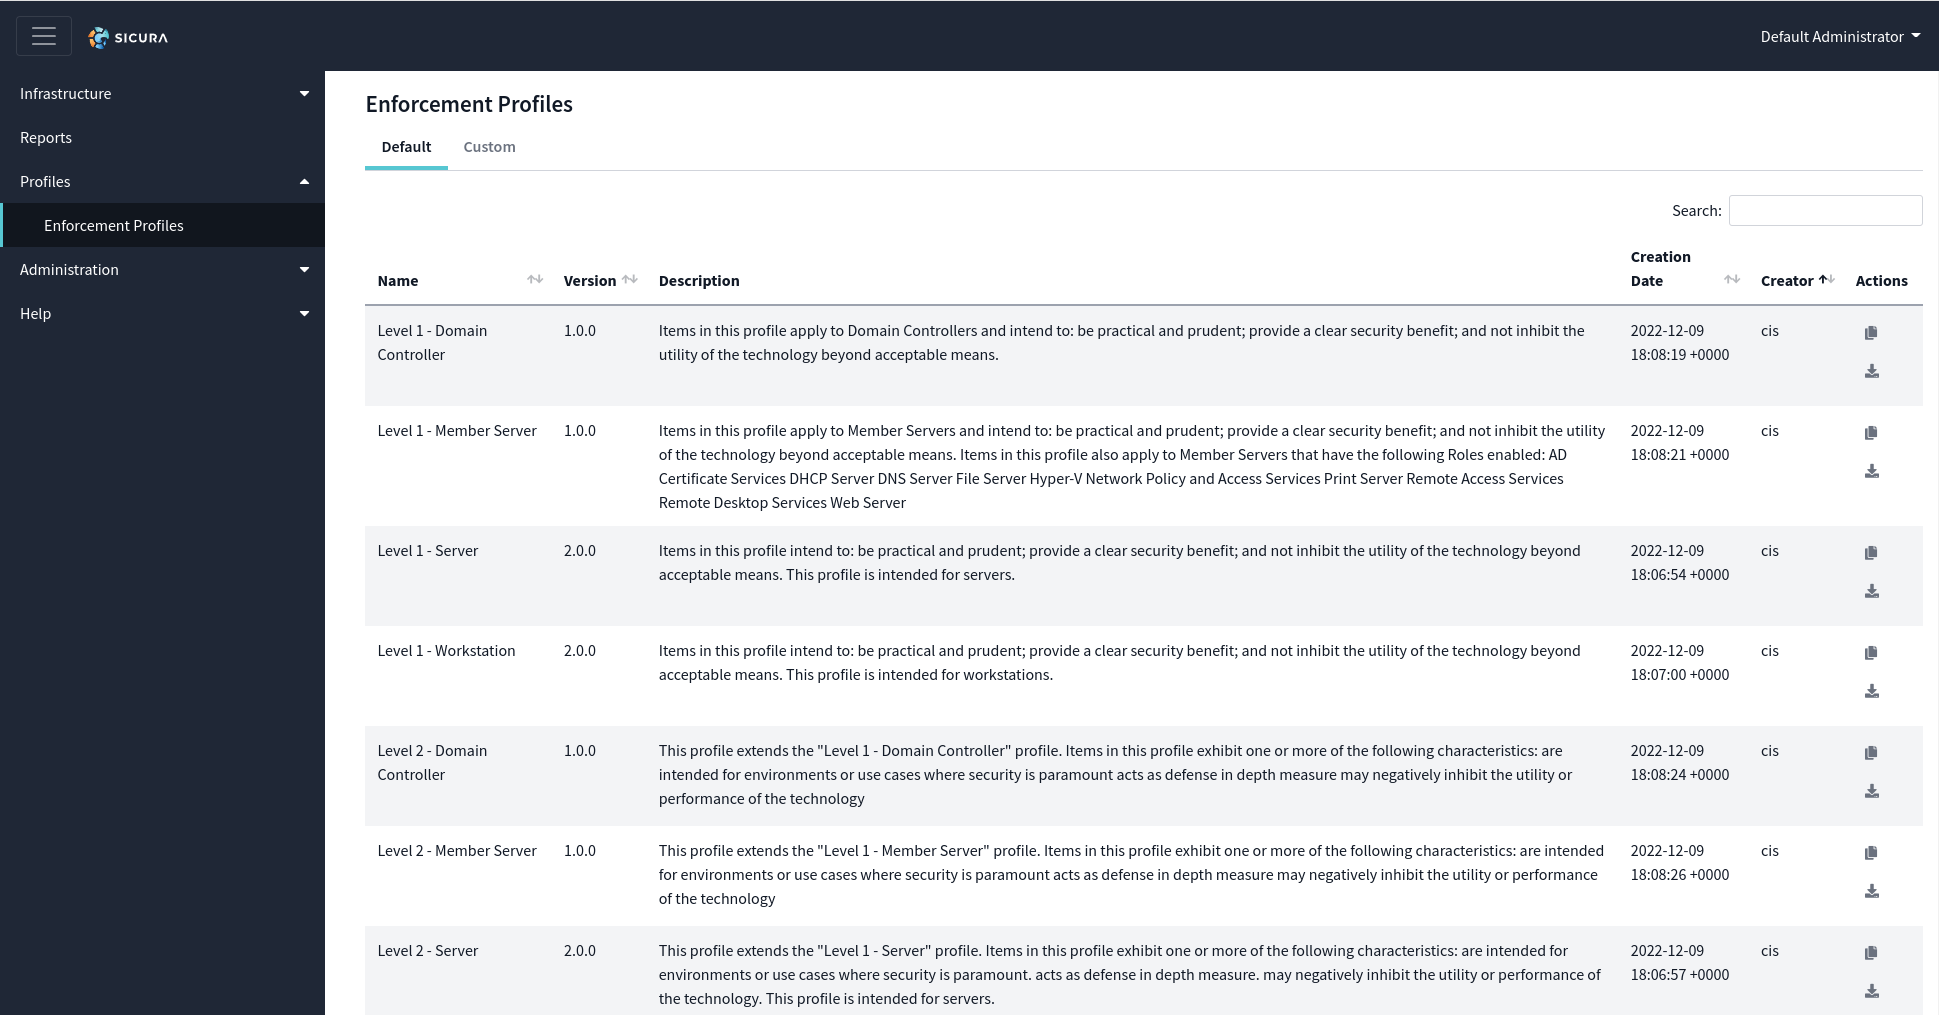
Profiles under the Default tab are automatically populated the first time the console loads, and will update whenever the console is upgraded to a newer version. Each profile appears as a row in the datatable with an Actions column that provides 3 actions to be taken on any default profile:
To create a custom profile based on an existing one, click the ⊞ New profile button in the Actions column. This will bring up the new profile form.
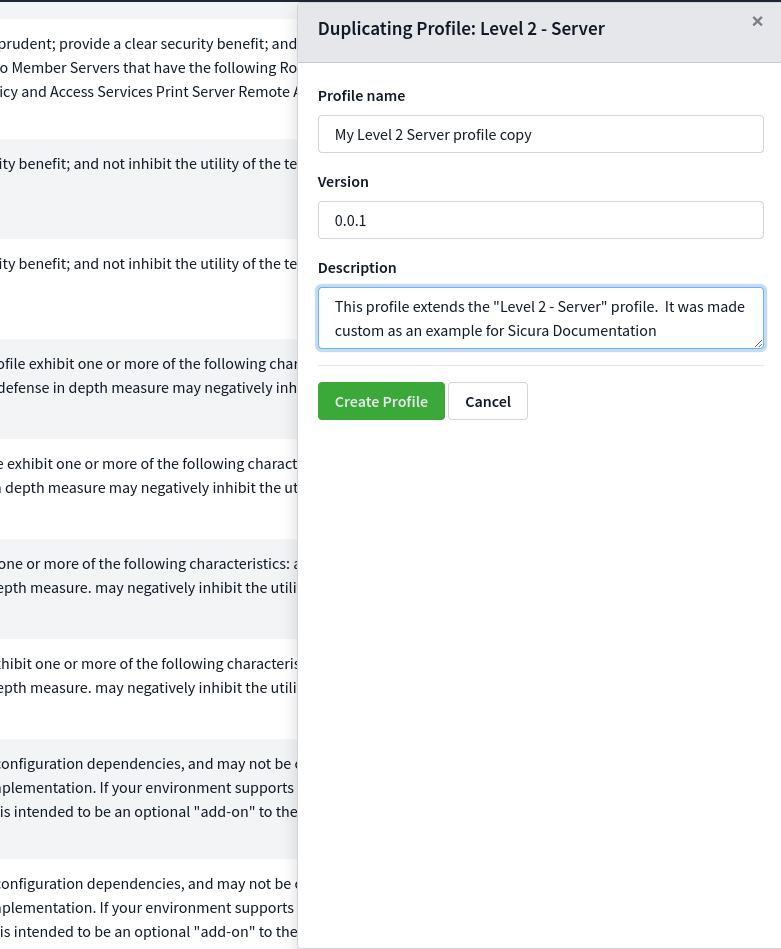
This form will allow you to set the name of your custom profile, modify the default description, and select rules to remove from the default profile set.
Once created click over to the custom tab to continue.
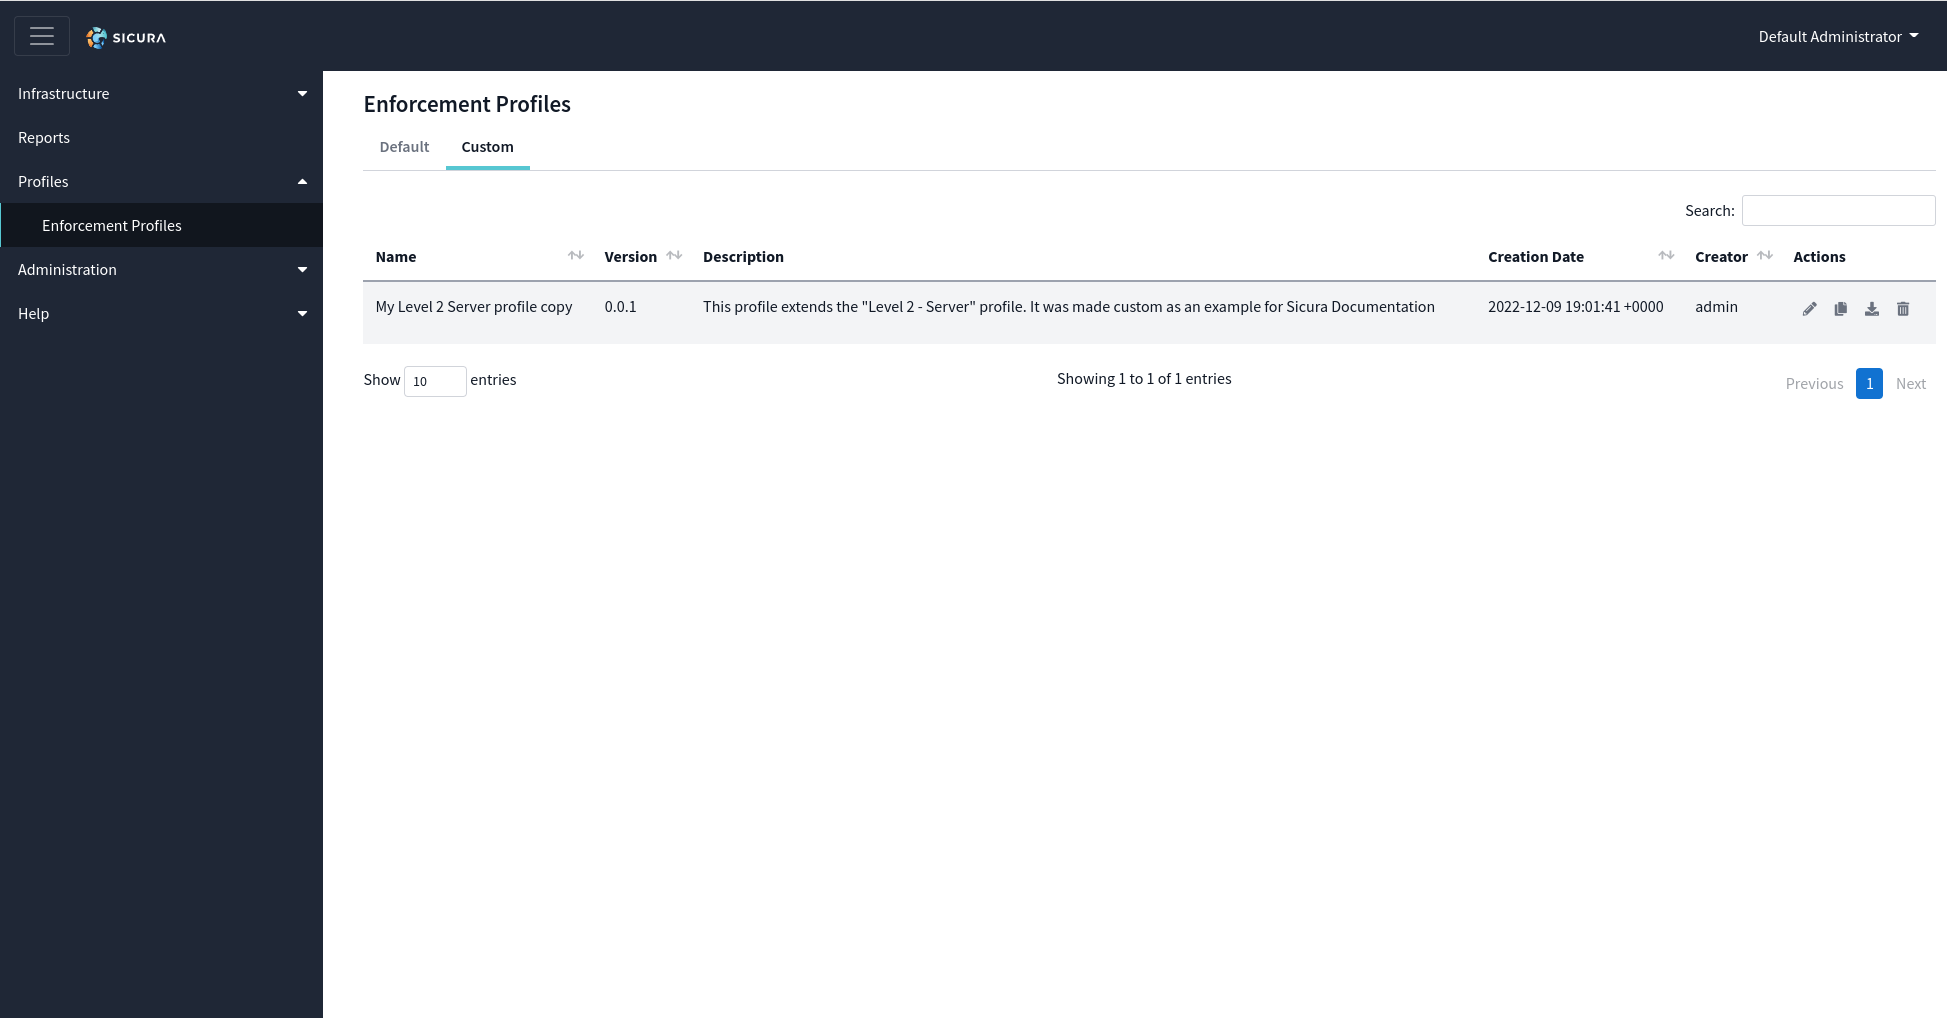
Whenever you copy a default profile, it will appear in this custom tab. The name, version and description provided can be viewed here as well as the name of the user that created the profile.
Note: Currently only admin users can access enforcement profiles. Profiles will be integrated into the RBAC system in a later release.
The Actions provides 4 actions to be taken on any custom profile:
To edit a custom profile, use the 🛈 View Profile action, then click on the Edit Profile button.
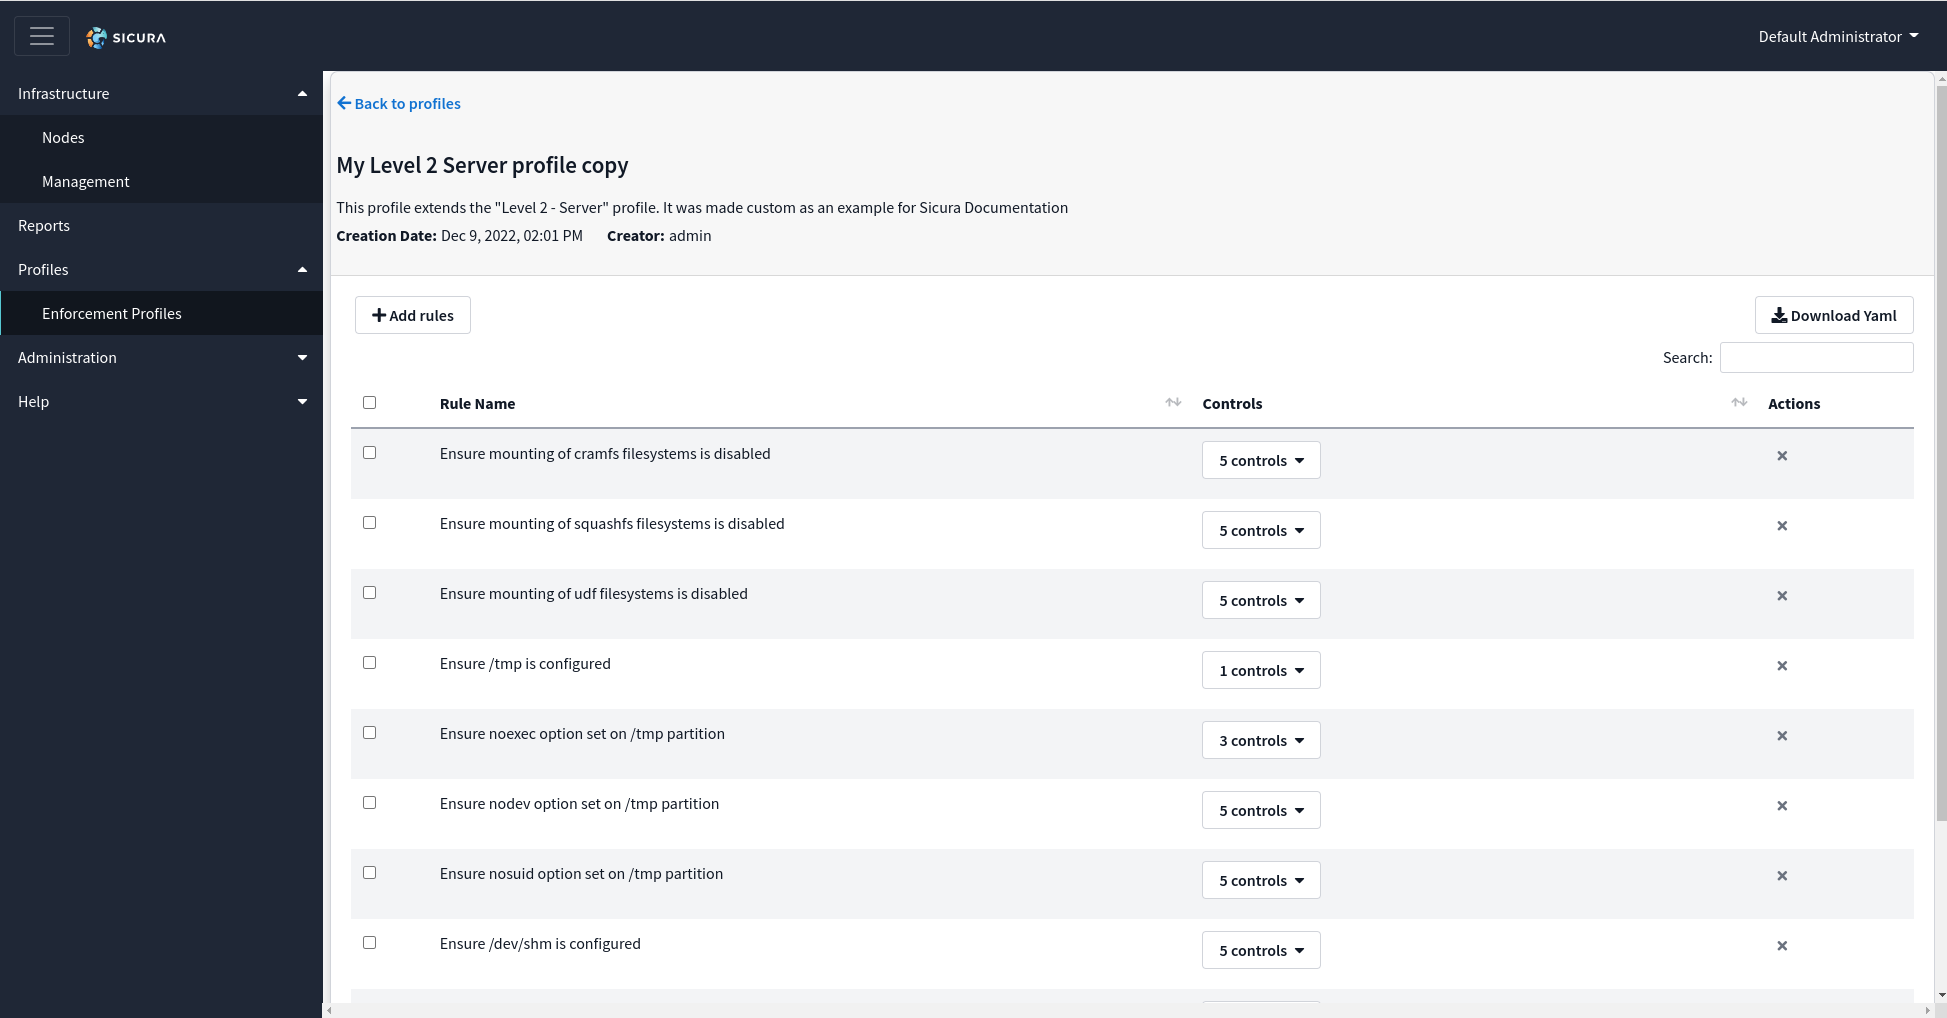
This window provides details for a profile including its name, description, and the list of rules contained within that profile.
From here rules can be added or removed as a user sees fit.
Rules can be deleted from a profile by selecting the rules you don’t want and clicking on the ⮈ arrow to move them from the Active rules column to the Available rules column.
Rules can be added by selecting from the Available rules and clicking on the ⮊ arrow to move them to the Active rules column.
When finished, click on the Save Changes button.
Sicura
© copyright 2022